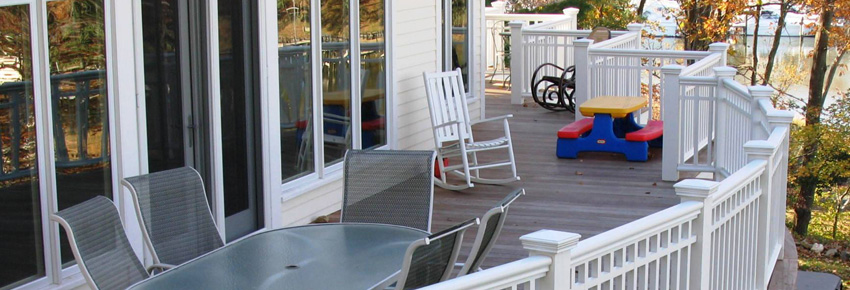
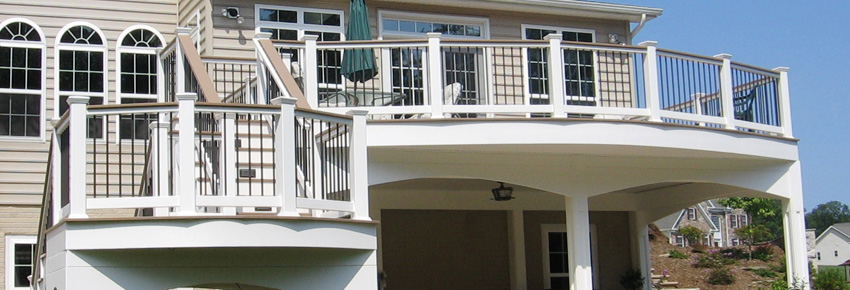
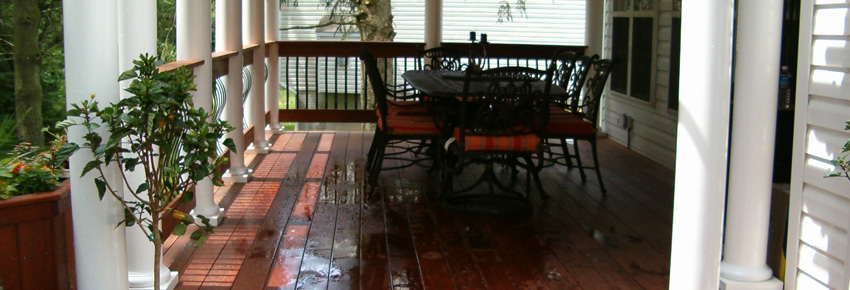
If you own a deck, then you know that you need to constantly maintain it. Decks require frequent cleaning and annual staining to keep them looking their best. If you fail to maintain your deck, it is very likely that your deck boards will become warn, warped, rotted, or splintered. But a few ruined boards do not have to mean the death of your deck.
This article from eHow.com explains how you can repair or replace your broken boards, restoring your deck to its former glory.
Replacing one section of a board
1. Use a jigsaw or keyhole saw to cut through the decking directly next to the two joists on either end of the bad section. You may need to drill a hole in the board first to be able to start the saw blade.
2. Cut a 2-by-4 cleat to fit in the space next to the joist. Start one or two galvanized nails into the cleat before putting it in place, and then attach it flush to the top of the joist.
3. Cut a length of decking to fill the space. Attach it to the cleats with galvanized nails or decking screws. For nails, use a nail set to put their heads below the surface.
4. If the new board is not flush with the deck surface, sand down any high spots. Apply the same stain or preservative you used on the rest of the deck.
Replacing entire boards
1. Remove any damaged boards by prying up slowly from the end with a pry bar or, if necessary, by cutting the board in pieces as in step 1, above.
2. Measure and cut a board to the length you need. If the decking will overhang an end joist, cut the boards a few inches long, then use a saw to trim the new boards flush with the adjoining decking after installation. Attach each board as in step 3, above, and apply stain or preservative to match the rest of the deck.
Of course, if your deck is in total disrepair, it may be time to replace the entire thing. If you have any questions, contact Mid-Atlantic Deck & Fence by calling1-800-833-9310 or click here today!
Tags: annual staining, broken boards, cutting the board, damaged boards, death of your deck, deck, deck boards, Deck repair, deck surface, Decking, Decking Maryland, Decks require frequent cleaning, Fence Maryland, Fencing Maryland, galvanized nails, jigsaw, joists, keyhole saw, looking their best, maintain your deck, Maryland, Mid-Atlantic Deck & Fence, pry bar, Repairing Your Deck Boards, Replacing entire boards, Replacing one section of a board, rotted, saw blade, splintered, warn, warped